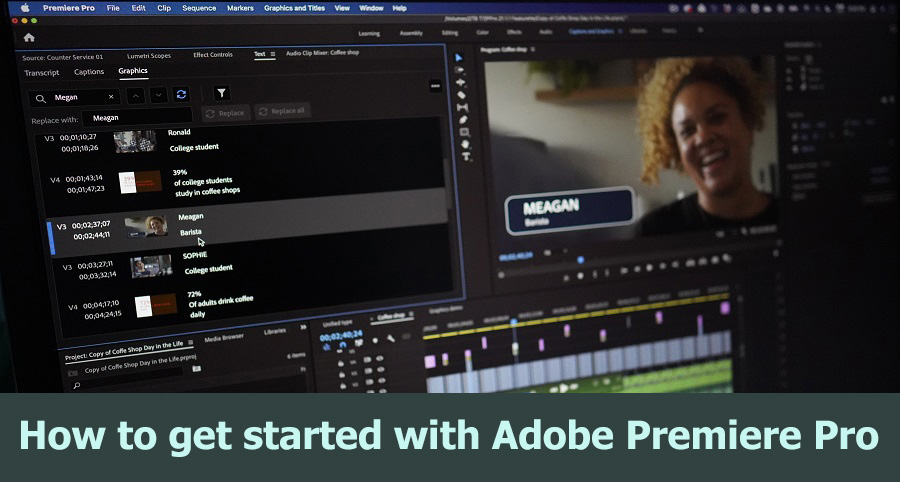
Adobe Premiere Pro is one of the most widely used video editing software programs in the industry. It is a powerful tool that allows users to create professional-quality videos with ease. However, if you are new to video editing, you may find the software overwhelming. In this article, we will discuss some tips on how to get started with Adobe Premiere Pro and share some advice on video editing and processing.
- Familiarize yourself with the user interface
The first step in using Adobe Premiere Pro is to get familiar with the user interface. Spend some time exploring the various panels and menus. The main panel is the Timeline panel, which is where you will be doing most of your editing. Other important panels include the Project panel, the Source panel, and the Effects panel. Familiarizing yourself with these panels will help you navigate the software more efficiently. - Organize your files
Before you start editing, it’s important to organize your files. This will save you time and make the editing process smoother. You can organize your files by creating folders for different types of media, such as video clips, audio files, and images. You can also use the Project panel to create bins to organize your files. - Import your media
To start editing your video, you need to import your media into Premiere Pro. You can do this by clicking on File > Import, or by dragging and dropping your files into the Project panel. Once your files are imported, you can drag them into the Timeline panel to start editing. - Start editing
The next step is to start editing your video. You can do this by using the tools in the Timeline panel, such as the razor tool, the selection tool, and the zoom tool. You can also add effects and transitions to your video using the Effects panel. Premiere Pro also has a variety of keyboard shortcuts that can help you edit more efficiently. - Use audio effects
In addition to video effects, Premiere Pro also has a variety of audio effects that you can use to enhance your video. You can use the Effects panel to add audio effects such as EQ, reverb, and noise reduction. You can also use the Essential Sound panel to automatically adjust the levels of your audio. - Color correction and grading
Color correction and grading can make a big difference in the look and feel of your video. Premiere Pro has a variety of tools that you can use to adjust the color and tone of your video. You can use the Lumetri Color panel to adjust the brightness, contrast, and color of your video. You can also use the Color Wheels panel to make more precise adjustments to the color of your video. - Export your video
Once you have finished editing your video, it’s time to export it. You can do this by clicking on File > Export, or by using the keyboard shortcut Ctrl + M. Premiere Pro has a variety of export settings that you can adjust to get the best possible quality for your video.
In conclusion, Adobe Premiere Pro is a powerful tool for video editing and processing. By following these tips, you can get started with Premiere Pro and create professional-quality videos in no time. Remember to take your time and experiment with different tools and settings to find the ones that work best for your video.

